Written by Steve Patterson. In this Photo Effects tutorial, were going to learn how to highlight the main subject of a photo with a simple outline. Once weve added the outline itself, which well do using a couple of Photoshops layer styles, well enhance the effect by boosting the color saturation of the main subject while decreasing saturation in the rest of the image, and well throw in a blur effect to further reduce the importance of the background. This photo effect works great with sports and action shots, which is where the idea for this tutorial came from, but you can use it with virtually any image.
Heres the photo Ill be using for this tutorial:
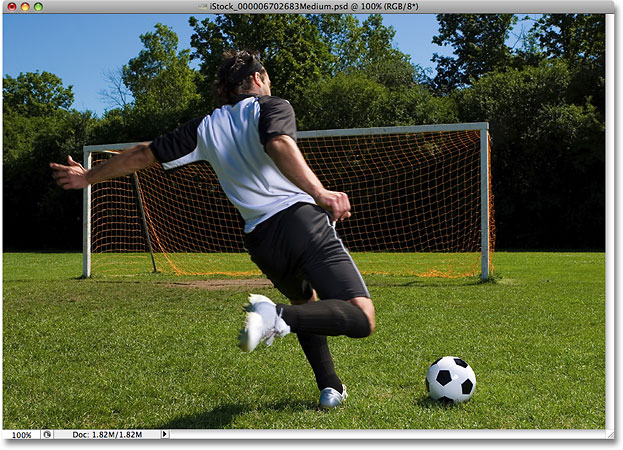
The original image.
Heres how it will look once weve added our "outline" effect:
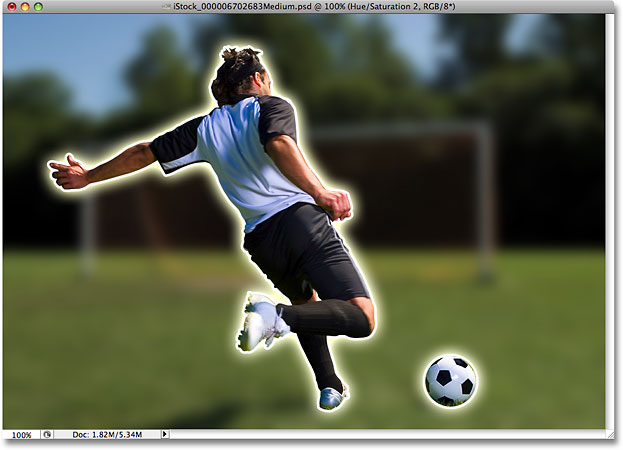
The final outline effect.
Lets get started!
Step 1: Duplicate The Background Layer
With our photo newly opened in Photoshop, the first thing we need to do is duplicate the Background layer. This is to avoid doing any damage to our original image. If we look in the Layers palette, we can see that our photo is sitting all by itself on the Background layer:
The Layers palette showing the original photo on the Background layer.
Lets duplicate this layer by going up to the Layer menu at the top of the screen, choosing New, and then choosing Layer via Copy. Or, for a faster way, use the keyboard shortcut Ctrl+J (Win) / Command+J (Mac):
Go to Layer > New > Layer via Copy, or press Ctrl+J (Win) / Command+J (Mac).
Either way tells Photoshop to create a copy of the Background layer for us, and if we look again in our Layers palette, we can see that we now have a copied version of the layer, which Photoshop has named Layer 1, sitting above the original:
A copy of the Background layer appears above the original.
Step 2: Select The Main Subject Of Your Photo
Use the selection tool of your choice (Lasso Tool, Pen Tool, etc.) to draw a selection around the main subject of your photo. For clean, professional looking selections, the Pen Tool is your best bet (if youre not sure how to use the Pen Tool, youll find everything you need to know to get up and running with it in our Making Selections With The Pen Tool tutorial), but the Lasso Tool will also work. In my case, I want to select the soccer player (or football player, depending on where you live), as well as the ball that hes about to kick, so Ill select both of them. When youre done, you should have a selection outline visible around your main subject(s):
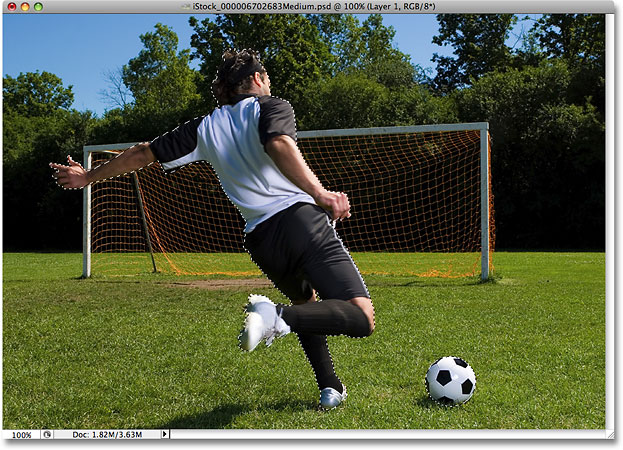
A selection outline appears around the main subject(s) in the photo.
For additional help with making selections in Photoshop, check out our Full Power Of Basic Selections tutorial, which youll find in the Photo Editing section of the website.
Step 3: Copy The Selection To A New Layer
We need to copy the selected area to its own layer so we can work on it separately from the rest of the image. We can do that using the exact same method we used to duplicate the Background layer a moment ago except that this time, only the area inside our selection will be duplicated, not the entire image. Go back up to the Layer menu at the top of the screen, choose New and then choose Layer via Copy, or press the keyboard shortcut Ctrl+J (Win) / Command+J (Mac). Nothing will seem to have happened to the image in the document window, but if we look in the Layers palette, we can see that we now have a new layer named "Layer 2" sitting above "Layer 1", and if we look in the preview thumbnail for "Layer 2", we can see that the layer contains a copy of the main subject, while the rest of the layer is blank, indicated by the gray checkerboard pattern:
The main subject now appears on its own layer in the Layers palette.
Step 4: Apply A Stroke Layer Style
To place an outline around our main subject(s), we can use Photoshops layer styles. Click on the Layer Styles icon at the bottom of the Layers palette, which will pop up a list of all the available layer styles that we have to choose from. Select the Stroke layer style from the bottom of the list:
Click on the Layer Styles icon and choose Stroke from the bottom of the list.
This brings up the Layer Style dialog box set to the Stroke options in the middle column. By default, the stroke color is set to red. Lets change it to white. Click on the color swatch to the right of the word Color:
Click on the color swatch to change the stroke color.
This brings up Photoshops Color Picker. Select white from the Color Picker. An easy way to select white is to simply enter a value of 255 into the R, G and B options near the bottom center of the dialog box. Click OK when youre done to exit out of the Color Picker:
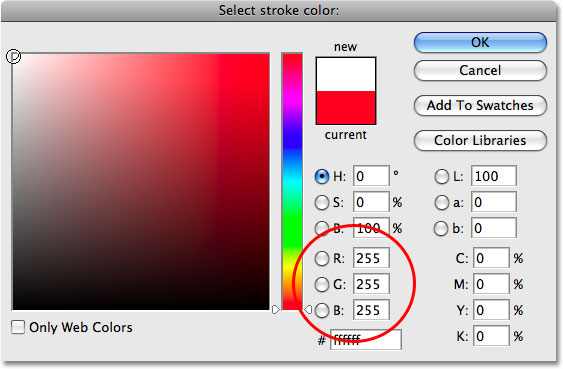
Choose white from the Color Picker.
With the color of the stroke now set to white, lets adjust the width of the stroke. We can do that using the Size slider at the top of the Stroke options. The actual size you choose will depend on the size of the image youre working with and how large you want your stroke to appear, so keep an eye on your photo in the document window as you drag the Size slider to increase or decrease the stroke width. Dragging the slider to the right increases the strokes width, while dragging to the left decreases it. For my image, Im going to go with a stroke size of 4 px (pixels):
Adjust the size of the stroke with the Size slider.
Dont click out of the dialog box just yet. We still have one more layer style to add. You should now have a white stroke around the main subject(s) in your photo:
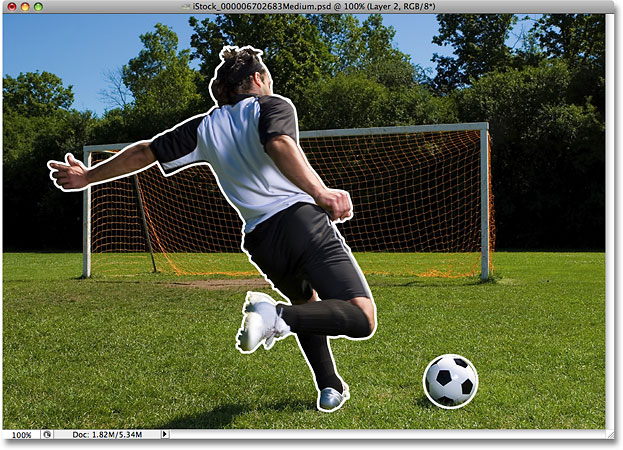
A white stroke now appears around the main subject(s) in the photo.
Step 5: Add An Outer Glow Layer Style
Lets add a bit more interest to our outline effect by applying an Outer Glow layer style as well. With the Layer Style dialog box still open, click directly on the words Outer Glow on the left of the dialog box. Make sure you click directly on the words themselves, not just inside the checkbox to the left of the words. We want to be able to change some options for the layer style, and the only way to gain access to the options is by clicking directly on the layer styles name:
Click directly on the words Outer Glow on the left of the Layer Style dialog box.
This changes the middle column of the Layer Style dialog box to the options for the Outer Glow. By default, the color of the glow is set to yellow, which I think works fine with this effect so Im going to leave it alone. Increase the Opacity of the outer glow to 100%. Then, down in the Elements section of the options, increase the Spread to around 6% and the Size to around 30 px:

The Outer Glow options in the Layer Style dialog box.
You may need to experiment a bit on your own with these settings depending on the size of your image, but when youre done, your outline effect should look something like this:
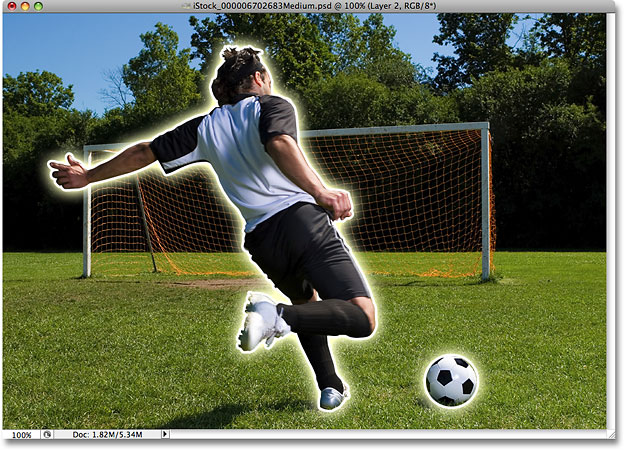
The outline effect now includes an outer glow.
Click OK to exit out of the Layer Style dialog box at this point. Were done applying our layer styles.
Step 6: Boost The Color Of The Main Subject With A Hue/Saturation Adjustment Layer
The main outline effect is now complete, but lets enhance our image even more with a couple of color adjustments and some blurring. First, well boost the color saturation of our main subject. For that, we can use a Hue/Saturation adjustment layer. We want to make sure, though, that our adjustment layer affects only the main subject, not the entire image, so were going to clip the adjustment layer to Layer 2, which is the layer that contains our main subject. Hold down your Alt (Win) / Option (Mac) key and click on the New Adjustment Layer icon at the bottom of the Layers palette. Select Hue/Saturation from the list of adjustment layers that appears:
Hold down Alt (Win) / Option (Mac), click on the New Adjustment Layer icon, and select Hue/Saturation from the list.
By holding down the Alt / Option key as we click on the New Adjustment Layer icon, we tell Photoshop to pop open the New Layer dialog box which allows us to set some options before the adjustment layer is added. Directly below the Name option is an option called Use Previous Layer to Create Clipping Mask. This option, if selected, will clip the adjustment layer to the layer directly below it, which means, in our case, that whatever we do with our adjustment layer will affect only our main subject on "Layer 2". Click inside the checkbox to select this option, then click OK to exit out of the New Layer dialog box:
Select the Use Previous Layer To Create Clipping Mask option.
As soon as we exit out of the dialog box, the Hue/Saturation dialog box appears. We want to use it to increase the color saturation of our main subject, so click on the Saturation slider in the middle of the dialog box and drag it towards the right. The further you drag to the right, the more youll increase color saturation, so keep an eye on your image in the document window as you drag the slider to make sure you dont overdo it. Im going to drag my Saturation slider to a value of around +35, which gives my main subject a nice boost in color:
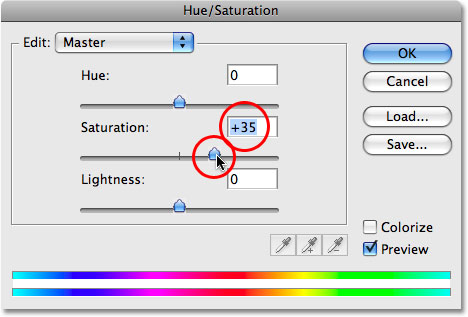
Drag the Saturation slider to the right to boost color saturation in the main subject.
Click OK to exit out of the dialog box when youre done. If we look in the Layers palette for a moment, we can see the Hue/Saturation adjustment layer sitting above "Layer 2". Notice how the adjustment layer is indented to the right. This tell us that the layer is clipped to the layer below it:
The Layers palette showing the Hue/Saturation adjustment layer clipped to Layer 2 below it.
Heres my image after boosting the color saturation of my main subject:

The color saturation of the main subject has been increased without affecting the rest of the photo.
Step 7: Apply The Gaussian Blur Filter To Layer 1
Were done working on our main subject. Lets finish things off by reducing the importance of the rest of the photo. Click on Layer 1 in the Layers palette to select it. The currently selected layer always appears highlighted in blue in the Layers palette. Were going to blur the rest of the photo, and to do that, well use Photoshops Gaussian Blur filter. Go up to the Filter menu at the top of the screen, choose Blur, and then choose Gaussian Blur:
Go to Filter > Blur > Gaussian Blur.
This brings up the Gaussian Blur filter dialog box. Set the Radius of the blur to around 10 pixels. Again, you may need to increase or decrease this amount depending on the size of the image youre working on, but 10 pixels generally works well:
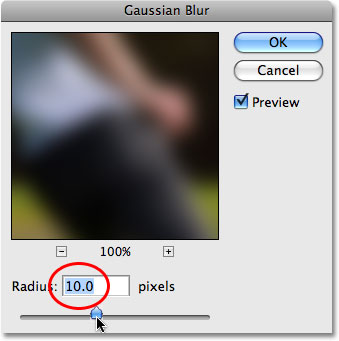
The Gaussian Blur filter.
Click OK to exit out of the Gaussian Blur dialog box, and if we look at our image in the document window, we can see that the background is nicely blurred out while our main subject remains sharp:

The rest of the photo is now blurred while the main subject remains untouched.
Step 8: Reduce The Color Saturation Of The Background With Hue/Saturation
As a final step, lets lower the color saturation of the background, which will help the main subject stand out even more. With Layer 1 still selected, click once again on the New Adjustment Layer icon at the bottom of the Layers palette and choose Hue/Saturation from the list. Theres no need to hold down the Alt / Option button this time:
Select another Hue/Saturation adjustment layer from the Layers palette.
When the Hue/Saturation dialog box appears, drag the Saturation slider towards the left to reduce the color saturation of the background. The further you drag to the left, the more youll reduce saturation. Im going to drag my slider to a value of around -25:
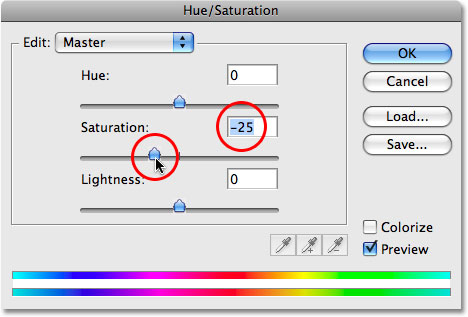
Drag the Saturation slider to the left to lower the color saturation of the background.
Click OK when youre done to exit out of the dialog box, and were done! Here, after reducing the color saturation of the background is my final result:
The final result.
And there we have it! Thats how to add an outline effect to the subject of your image with Photoshop!
Download our tutorials as print-ready PDFs! Learning Photoshop has never been easier!
You May Also Like...
Outlining The Action - Photoshop Tutorial
In this Photoshop tutorial, learn how to highlight the main subject of your photo by placing an outline and outer glow around them!
Outlining The Action - Photoshop Tutorial | 101 Photoshop ...
Written by Steve Patterson. In this Photo Effects tutorial, were going to learn how to highlight the main subject of a photo with a simple outline.
Outlining The Action In Photoshop
photo with an easy to create outline effect in Photoshop! Tutorials; Retro comic book Download a watercolor effect Photoshop action Adding Focus To An
Outlining The Action In Photoshop - Monarch Knights
Photo Effects: Outlining The Action In Photoshop By Steve Patterson, Photoshop Essentials.com This Photoshop Tutorial © 2008 Steve Patterson,
SEXY Photoshop TUTORIAL : Outlining The Action In Photoshop
Photoshop Photo Effects: The Layers palette showing the original photo on the Background layer.
Outlining The Action In Photoshop - Photoshop tutorial
Bring the action in your images to the forefront with an easy to create outline effect in Photoshop, and let the main subjects of your photos shine as the real stars
Outlining Objects in Photoshop | photoshop-tutorial.org
Outlining Objects in Photoshop . This tutorial is very important, Check out the tutorial for outlining and saving over here!
Outlining The Action In Photoshop - CG Tutorials: Adobe ...
Bring the action in your images to the forefront with an easy to create outline effect in Photoshop and let the main subjects of your photos shine as the real stars
Photoshop Outlining The Action In Photoshop Tutorial
Photoshop Outlining The Action In Photoshop Tutorial : Tutorials > Photoshop > Photo Effects
[PShop-Tutorial] Outlining The Action In Photoshop
In this Photoshop photo effects tutorial, were going to learn how to highlight the main subject of a photo with a simple outline. Once weve added the outline
Travelling is my life
ConversionConversion EmoticonEmoticon