Sellers may wish to turn 2 or more images into one larger "stiched" image. This will guide you in how to do that. (I use only one large image with various views of the item in my listings.)
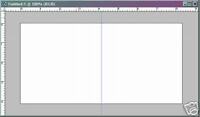
Open the images you want to merge into one. Then open a new blank window which will hold all of your "sub" images. In this sample below, I've also dragged a guide line from the ruler to the middle of the blank image. (Your cursor in PhotoShop will "snap" when your guide is at the center.)
Next, copy one of your images to stitch into this new file. Paste it into the new file. If you have to resize your original image, go to Edit>Transform or type Ctrl+T to resize to the appropriate size, as in this image:
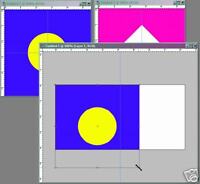
Note, when you place your cursor at the corner of the Transform box, your cursor will become a 2-end arrow. Drag this to the appropriate size, then click on the Enter key to set it. I've found when my edge of the Transform box is directly over a guide, I get a faint red line at that edge, so I know I have it placed as I want.
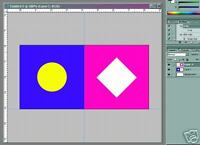
Copy & paste your additional original image(s) and resize as above as needed as below. Crop away any excess blank edges of the new document. Note in your Layers :Palette that all images are on their own layer. You must have a single-layer image for a jpg. PhotoShop does this easily - Save For Web (File Menu or Ctrl+Shift+Alt+S). This opens a window which will allow you to save a jpg or gif file at various settings. (I use a quality setting of 21 for jpgs - this seems fine for my eBay photos.)
When you have completed your stitched image, before saving, you may wish to copy your logo or type your eBay ID onto a new layer and move to where you wish it to be, then save for web:
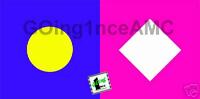
On the text of my eBay ID above, I typed it in black, rasterized the type layer, then set that layer at 30% opacity in the Layers Palette
Travelling is my life
ConversionConversion EmoticonEmoticon