Written by Steve Patterson.
In this Photo Effects tutorial, well learn how to quickly and easily add rays of sunlight to an image with Photoshop! Ill be using Photoshop CS5 throughout this tutorial but any recent version will work.
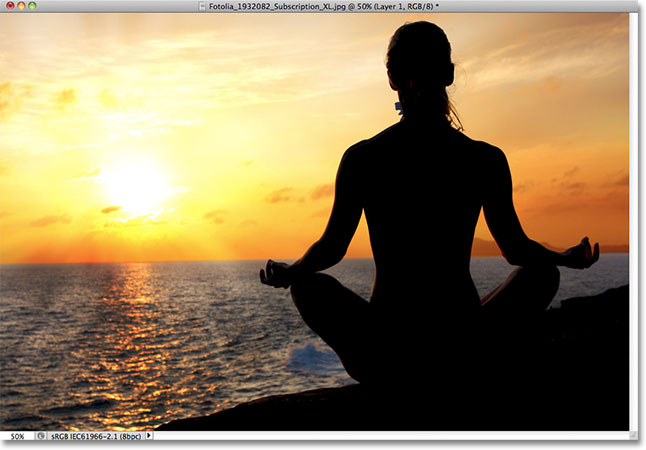
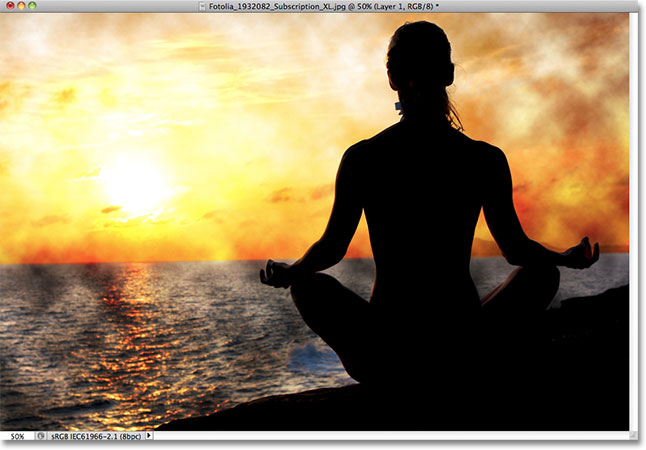
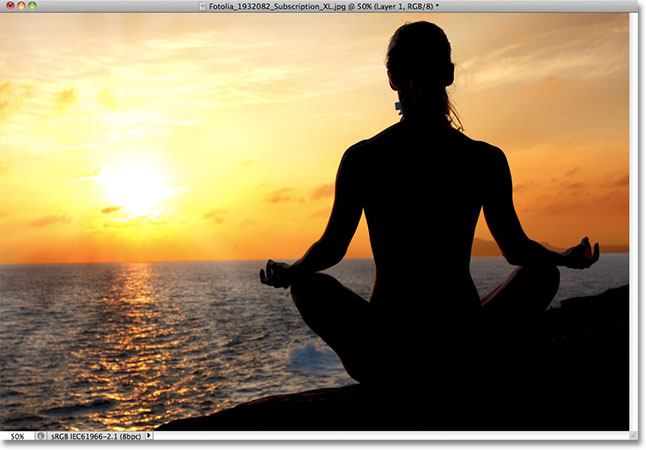
Heres the original photo Ill be starting with, which is available from the Fotolia image library:

The original image.
And heres how it will look after adding the rays of sunlight. Depending on your image, the effect can appear subtle (as it is here) or more pronounced. Well learn how to fine-tune the results at the end of the tutorial:
The final light rays effect.
Lets get started!
Step 1: Add A New Blank Layer
With the photo newly opened in Photoshop, we can see in the Layers panel that our image is sitting all by itself on the Background layer, which is currently the only layer in our document. Were going to add our light rays on a separate layer above the image, so click on the New Layer icon at the bottom of the Layers panel:
Click on the New Layer icon.
Nothing will happen to the image in the document window just yet, but a new blank layer named Layer 1 appears above the Background layer. Notice that Layer 1 is highlighted in blue, which means its currently the active layer, and that means anything we do next will happen on this new layer, not to the image on the Background layer below it:
Photoshop adds a new layer named Layer 1 above the Background layer.
Step 2: Reset The Foreground And Background Colors If Needed
Press the letter D on your keyboard to quickly reset Photoshops Foreground and Background colors to their defaults if needed, which sets the Foreground color to black and the Background color to white. Were going to run a filter in a moment that uses the Foreground and Background colors, so its important that we make sure theyre set to black and white before running the filter. You can see what the colors are current set to by looking at the color swatches near the bottom of the Tools panel:
The Foreground (upper left) and Background (lower right) color swatches.
Step 3: Apply The Clouds Filter
Go up to the Filter menu in the Menu Bar along the top of the screen, choose Render, then choose Clouds:

Go to Filter > Render > Clouds.
This will fill Layer 1 with a random black and white cloud pattern. The reason it appears in black and white is because the Clouds filter uses the current Foreground and Background colors, which is why we reset them to their defaults a moment ago:
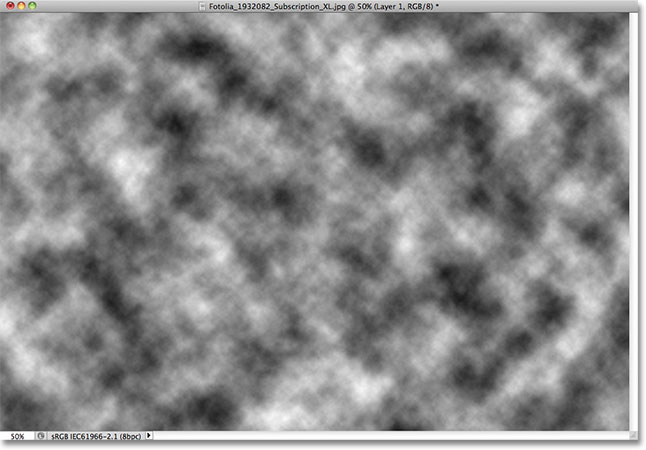
The image after running the Clouds filter.
Step 4: Change The Layer Blend Mode To Overlay
At the moment, the cloud pattern is completely blocking the photo below it from view. We need a way to blend our two layers together, and we can do that using Photoshops blend modes. Youll find the Blend Mode option in the top left corner of the Layers panel. By default, its set to Normal. Click on the word Normal and change the blend mode to Overlay:
Change Layer 1s blend mode from Normal to Overlay.
The cloud pattern now blends in with the photo below it:
The Overlay blend mode gives everything a higher contrast look.
Step 5: Apply The Radial Blur Filter
This next step is where we turn the cloud pattern into rays of light, and we do that by blurring the clouds using a "zoom" style blur. Go back up to the Filter menu and this time choose Blur, then choose Radial Blur:
Go to Filter > Blur > Radial Blur.
This opens the Radial Blur dialog box. Set the Blur Method option on the left of the dialog box to Zoom, then increase the blur Amount to around 90. You may need to try different Amount settings to get the effect looking right with your specific image, but a value of 90 is usually a good place to start:
Set the Blur Method to Zoom and the Amount to around 90.
In the lower right is the Blur Center option where we can set the location in the image where the blur effect will appear to be zooming out from. Simply click inside the box and, with your mouse button held down, drag the blur center to where you need it. In my case, I want my light rays to be coming from the setting sun, but the unfortunate problem with the Radial Blur filter is that it doesnt give us any way to preview the effect, which makes setting the blur center a bit of a guessing game. I know that the sun in my photo is towards the left and just above the horizontal center, so Ill click inside the box and drag the blur center into that general area:
Click inside the box and drag the blur center where you need it (or close to it, anyway).
Finally, if youre working on a very large image or on a slow computer (or both), set the Quality option in the bottom left of the dialog box to either Draft or Good. The lower quality setting wont give you the nicest looking results but it will allow the filter to run faster so you can judge whether or not youve positioned the blur center correctly or if it needs to be moved. If youre using a faster computer, go ahead and set the Quality option to Best, which is what Ill do:
Set the Quality option to Draft or Good to preview the results on slower machines, otherwise set it to Best.
Click OK to close out of the dialog box, at which point Photoshop runs the filter. As luck would have it, I seem to have positioned my blur center in the correct spot on the first try (which doesnt happen very often), and we can see the rays of light now streaming out from the sun:

The image after running the Radial Blur filter.
Dont worry if you didnt get things right on the first try. Its easy to go back and try again. Simply undo the filter by going up to the Edit menu at the top of the screen and choosing Undo Radial Blur, or by pressing Ctrl+Z (Win) / Command+Z (Mac) on your keyboard:
Go to Edit > Undo Radial Blur, or press Ctrl+Z (Win) / Command+Z (Mac).
Then, to quickly re-open the Radial Blur dialog box so you can make whatever changes you need, hold down your Alt (Win) / Option (Mac) key and, with the key still held down, go back up to the Filter menu. Youll see the Radial Blur filter listed at the very top since it was the last filter we used:
Hold down Alt (Win) / Option (Mac) and go to Filter > Radial Blur.
This will re-open the Radial Blur dialog box. Drag the blur center to a new position or change the Amount value if needed, then click OK to have Photoshop run the filter again. You can undo the filter, make changes in the dialog box, then re-run it as many times as needed until youre happy with the results. Also, if you previously ran the filter with Quality set to Draft or Good and youre satisfied with your Blur Center and Amount settings, make sure to undo the filter and re-run it with Quality set to Best.
Step 6: Lower The Opacity Or Change The Blend Mode To Soft Light If Needed
If you find that your light rays look too intense in the image, one way to soften them is by lowering the layer opacity. Youll find the Opacity option directly across from the Blend Mode option at the top of the Layers panel. The lower the opacity, the more the original photo will show through. Ill lower mine down to 70%:
Lower the opacity of Layer 1 to reduce the intensity of the light rays.
With the opacity lowered, the light rays in my image now appear more subtle:
The image after lowering the layer opacity.
You can also try changing the blend mode from Overlay to Soft Light:
Changing the blend mode from Overlay to Soft Light.
Soft Light is basically a less intense, lower contrast version of the Overlay blend mode (see our Five Essential Blend Modes For Photo Editing tutorial for more details), making the light rays appear softer. Use whichever of the two blend modes works best with your particular image:
The same light rays effect, this time with the blend mode set to Soft Light.
And there we have it! Thats how to easily add rays of sunlight to an image with Photoshop!
Download our tutorials as print-ready PDFs! Learning Photoshop has never been easier!
You May Also Like...
Add Rays Of Light To A Photo - Photoshop Tutorial
Step 1: Add A New Blank Layer. With the photo newly opened in Photoshop, we can see in the Layers panel that our image is sitting all by itself on the Background
Photoshop Elements 8: Add Rays Of Light To A Photo
Written By Steve Patterson. In this photo effects tutorial, we'll learn how to quickly and easily add rays of sunlight to an image with Photoshop Elements 8!
Photoshop Tutorials - Ray of Light | Photo Manipulation ...
Use Photoshop to create and add a dramatic ray of light to your photos. to make light rays in the original photo get the latest Photoshop tutorials,
Adding Rays of Light: a Tutorial in Photoshop or Elements ...
Whether you're working with a photo or creating an image from scratch, you may want to add some rays of light to a scene. Here's how to make them look realistic!
Add Rays Of Light To A Photo | Tutorials photoshop
Written By Steve Patterson In this photo effects tutorial, we'll learn how to quickly and easily add rays of sunlight to an image with Photoshop!
"The EASIEST WAY TO MAKE RAYS OF LIGHT: A Photoshop ...
'The EASIEST WAY TO MAKE RAYS OF LIGHT: A Photoshop tutorial for Please make sure that you tick the Add to Great tutorial. I took a photo last week
How To Add Rays Of Light Effect In Photoshop [Tutorial]
You can always make your photos look astonishing by doing little adjustments. In this tutorial we will show you how to add a ray of light to a photo using
Add Rays Of Light To A Photo With Photoshop
In this Adobe Photoshop Effects tutorial, well learn how to add rays of sunlight to an image with Photoshop. Light rays can add light/sun rays to this picture
Add Rays Of Light To A Photo - Photoshop Tutorial | 101 ...
Written by Steve Patterson. In this Photo Effects tutorial, well learn how to quickly and easily add rays of sunlight to an image with Photoshop!
How to Create Sun Rays in Photoshop PictureCorrect
This photoshop tutorial is to help you learn how to create a shining effect either from the sun or any other light source in a picture. add some extra rays when
Travelling is my life
ConversionConversion EmoticonEmoticon