There is a little nostalgia in this tutorial for me. This is one of the first tutorials I ever wrote and it was the effect that inspired me to start writing tutorials. Read about it here on the PhotoshopCAFE history.
I have recently updated the screen captures, but the effect still works today the same way it did 13 years ago!
Step 1
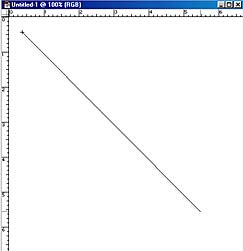
Select the gradient tool by pressing G Now set the tool to linear gradient in the Gradients Palette. I chose the copper preset. Take your mouse to the top left and click and drag to the bottom right.
Step 2
This has now created a gradient fill
Step 3
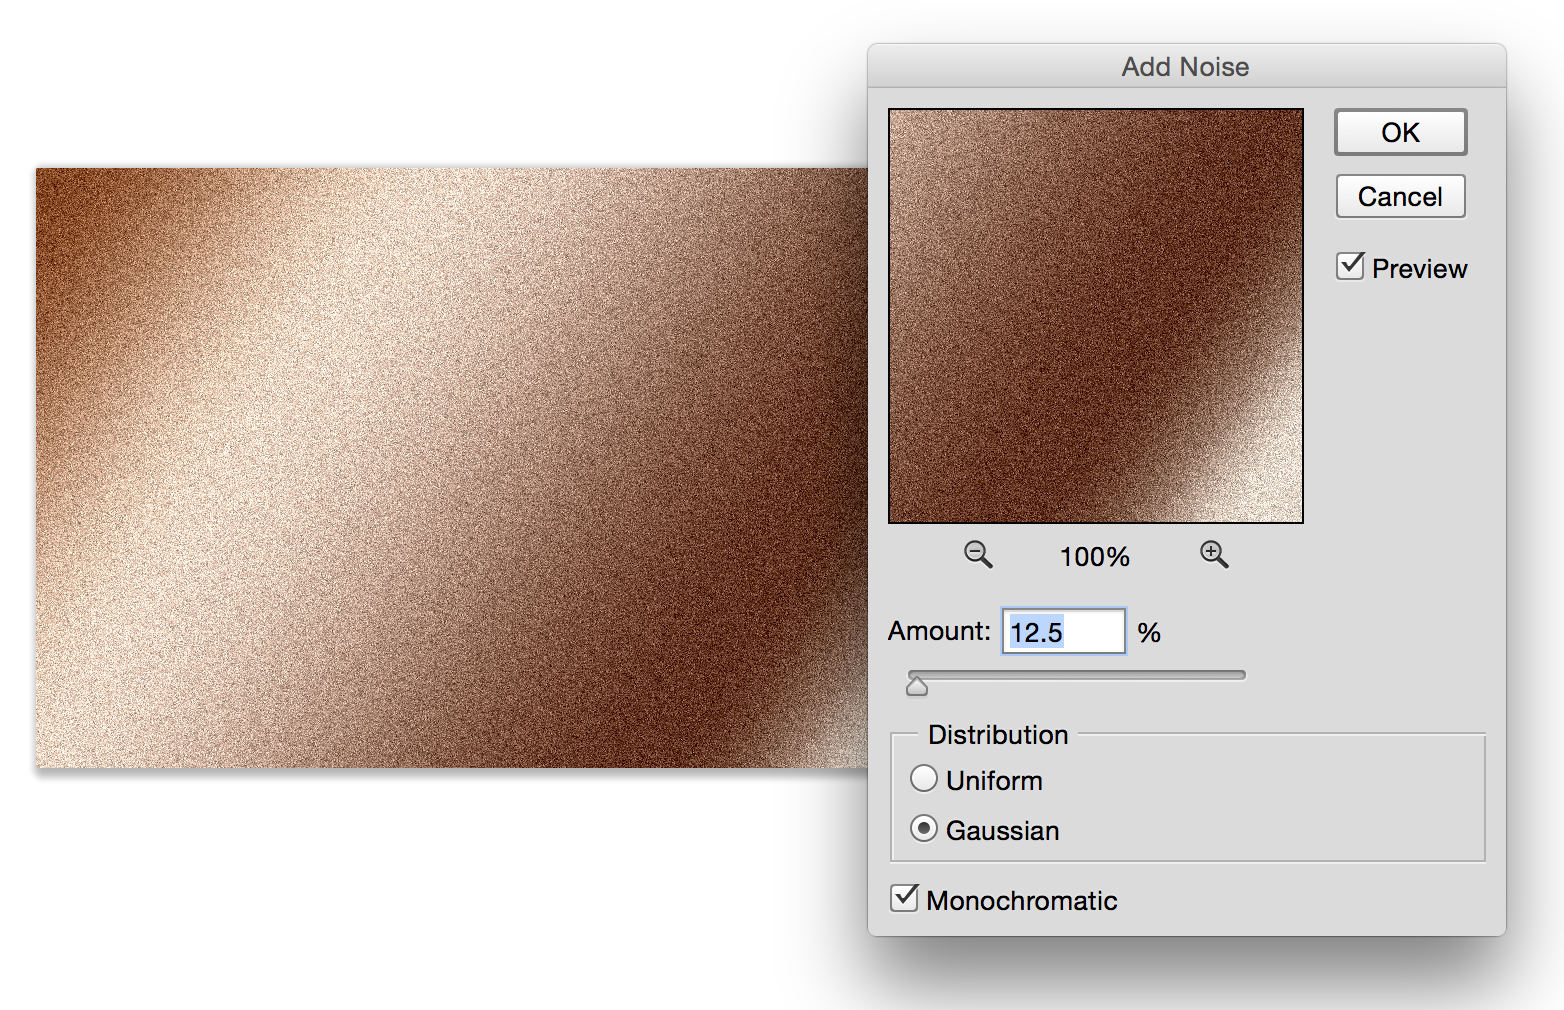
Filter>Add Noise your image should look grainy like this. Select Monocromatic so that strange colors are not added.
Step 4
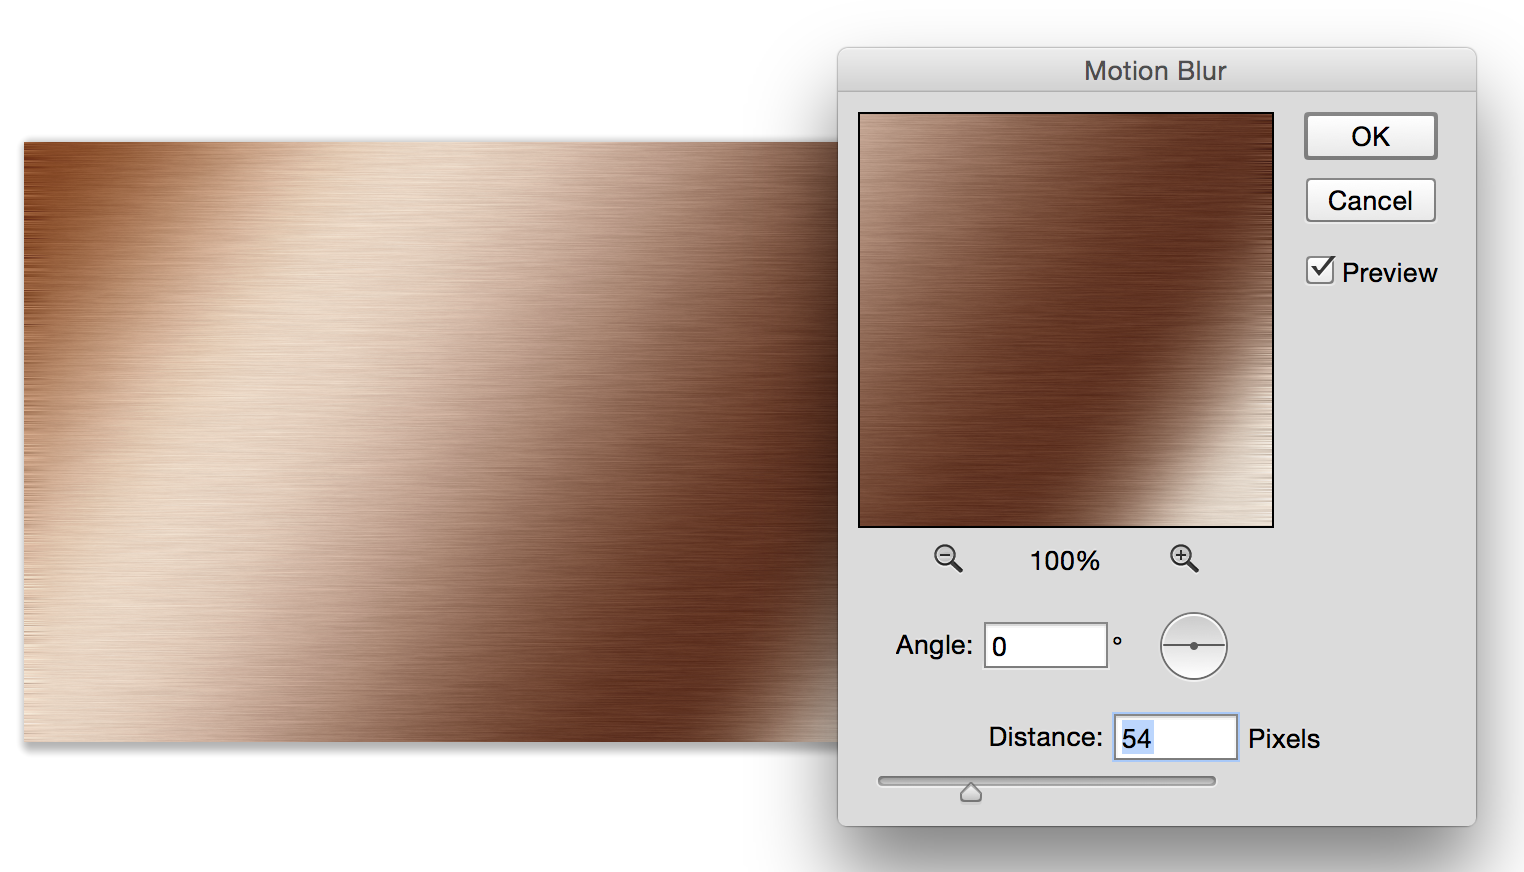
Almost done, now go to filter>blur>motion blur. Set angle for 0 and distance to taste.
Step 5
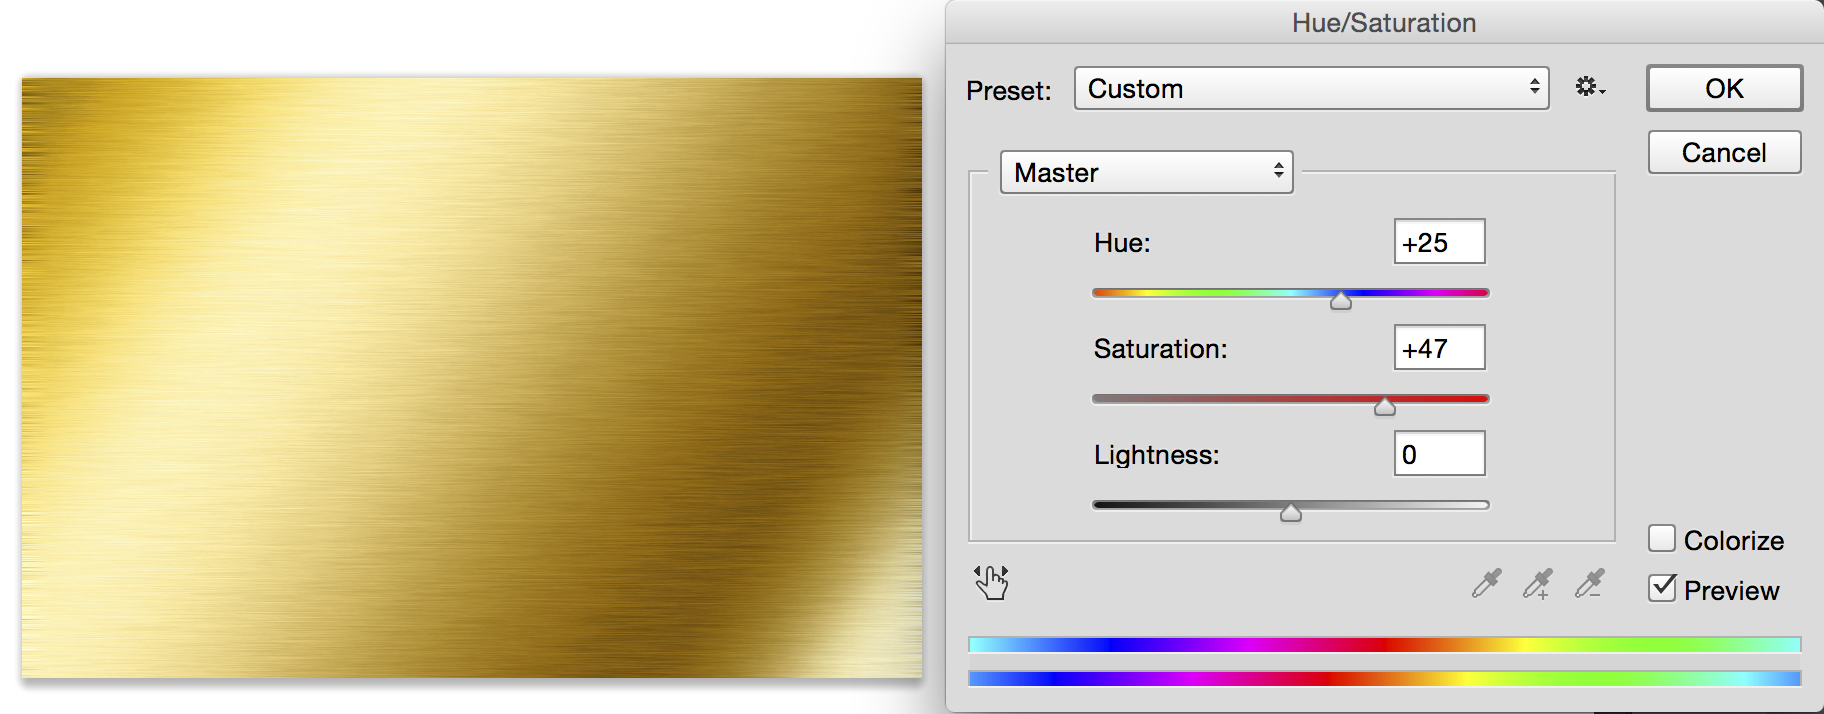
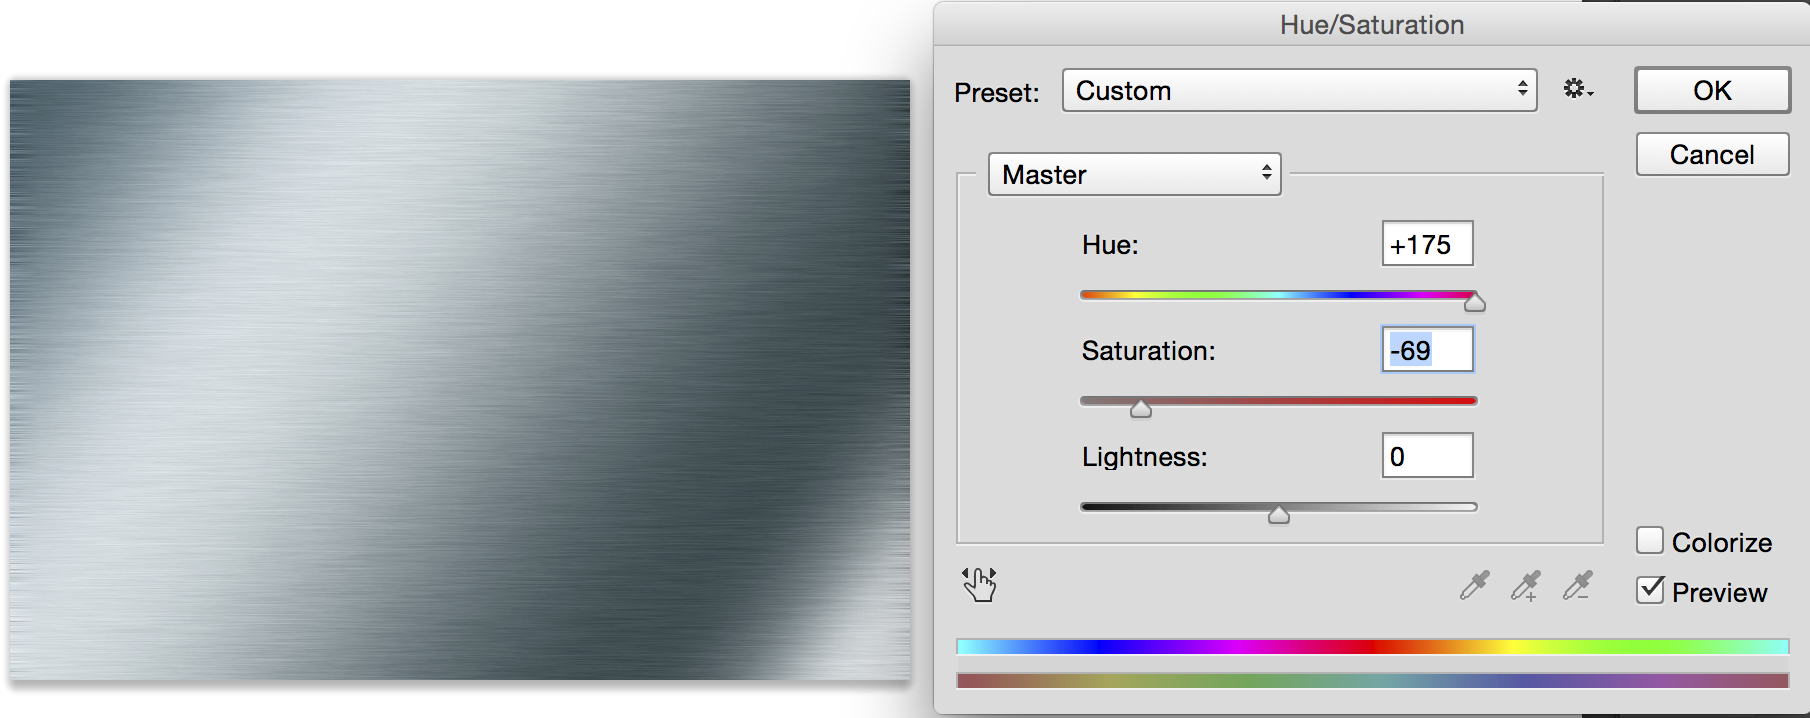
To change the color: Hue/Saturation, Ctrl/Cmd +U. Slide the Hue slider to get differant colors.
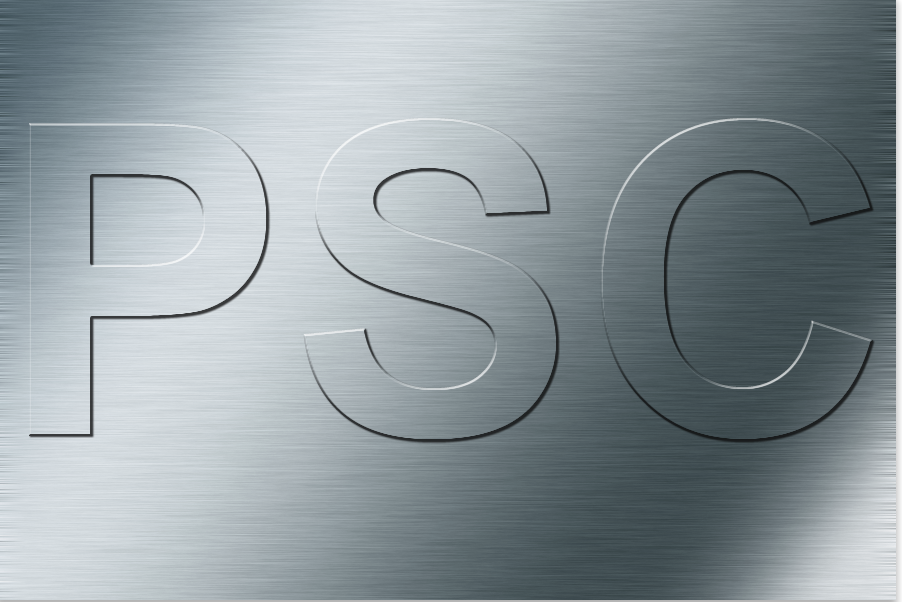
Learn how to stamp some text into this effect here
Get in-the-know!
Join our list to receive more tutorials and tips on Photoshop. Get exclusive tutorials, discounts and the free super guides. No spam, all content, no more than once a week.

ConversionConversion EmoticonEmoticon