In this Photoshop tutorial I am going to show you how to achieve a look of a design or text that has been engraved or chiseled into stone or any other material that you would like. Its actually a quite easy effect to achieve.
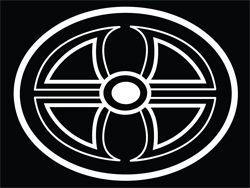
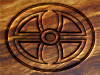
To start off with you are going to need two things. You will need the material that you would like to engrave and you will need the design that you want to engrave, this design can easily be text instead of a design. I will be using the following images. The image on the left is the material I will be engraving and the image on the right is the design I will be engraving. (click for bigger)
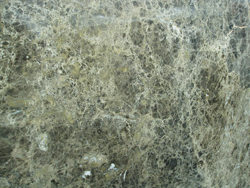
Open up the material you chose in Photoshop, in my case the green marble pictured above. Now go to your channels palette and add your design or text into a new channel. If you are using a design you have already created, simply open up your design, copy it, then paste it into a new channel. If you have not made a design, create a new channel and simple make your design directly in the newly created channel. If you are working with text simply write your text in the newly created channel. Your channels palette should now look something like this.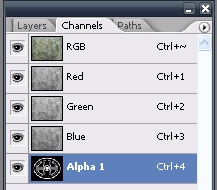
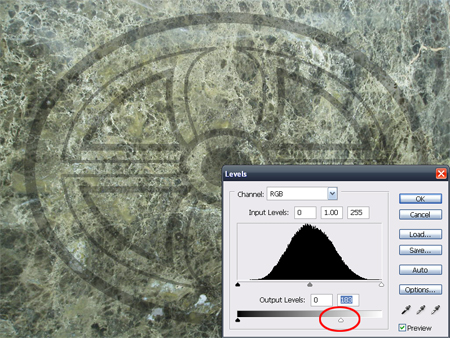
Now we are going to be working with Adjustment Layers and we need to make a layer mask with the design or text that we put in our newly created channel. To do this load the newly created channel as a selection by holding down CTRL and clicking the newly created channel. Now go back to your layers palette the Create new fill or adjustment layer button. This will pop-up a list, from the list choose levels as the type. In the levels dialog box that pops up move the white output levels slider inward to darken the image. Doing so here will darken just the part that we are going to engrave without increasing the contrast in the rest of the image.
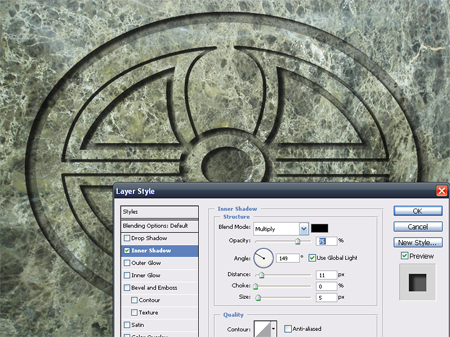
The rest of the work that we will be doing will take place on the adjustment layer that we just created so make sure you are working on it. Lets get started with what will have the biggest effect on the image, an inner shadow. Open up your Layers Styles (Layer/Layer Style/Inner Shadow), the settings here are purely by taste. Use your mouse cursor to drag around the shadow until you achieve a look that you like. Dont hit ok when you are done though, we arent done with the layer styles quite yet.
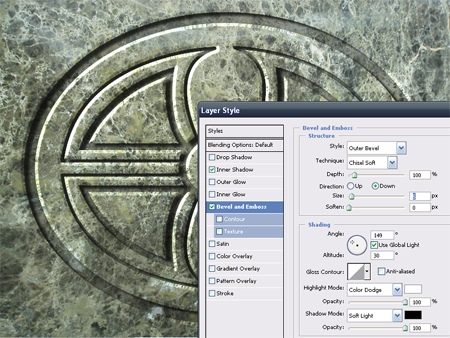
Now lets create a nice beveled edge. Again, these settings are kind of to taste. I chose an Outer Bevel. I chose to really pump up the intensity for both the highlights and the shadow, moving them all the way up to 100%, I also changed their blending mode as well. You can see the settings I used in the picture below.
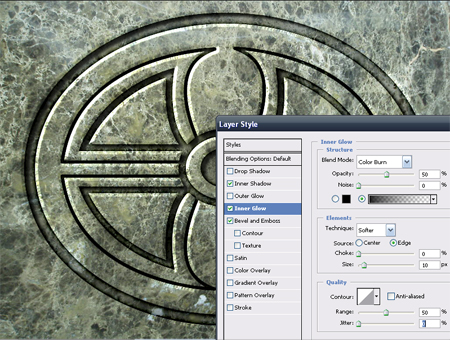
To enhance the carving lets enhance the shadow. I used the inner glow layer style to do this. Make your inner shadow color black and change the color mode to Color Burn. Also lower the opacity and increase the size. You can see the settings I used below.
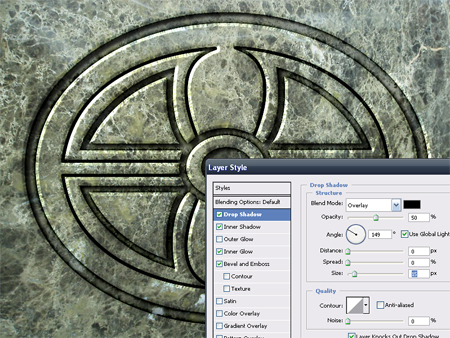
To enhance the shadow a bit more I added a drop shadow as well. This will help to help to define the shading. I put the drop shadow in overlay mode, used a fairly good sized Size setting and made the distance zero. Again, see my settings below.
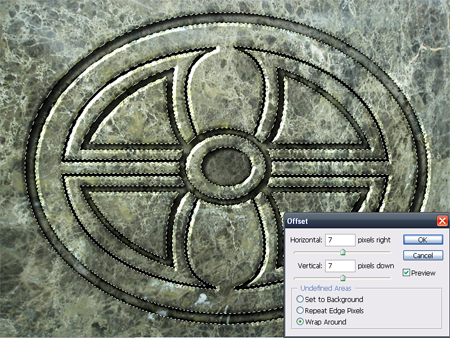
To help with the illusion of depth we can shift the image in the engraved out areas. To do this, select the background image and then CTRL click the adjustment layer to load its selection and then go to your offset filter (Filters/Other/Offset). You just want to shift this a bit so that the patterns dont match up so use a small value, I used 7 for both the horizontal and the vertical.
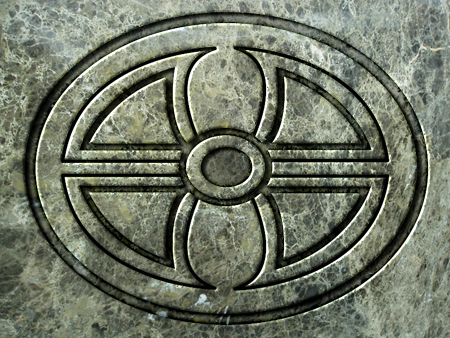
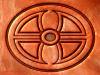
And here is the final result.
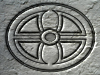
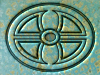
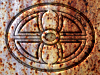
That about covers engraving. One really cool thing about this is since you did almost all the of the changes in the adjustment layer that all you have to do is drag a new texture layer into the image and then repeat the last offset step and the effects will be added to the new layer. Here are a few examples:
Travelling is my life
ConversionConversion EmoticonEmoticon