1
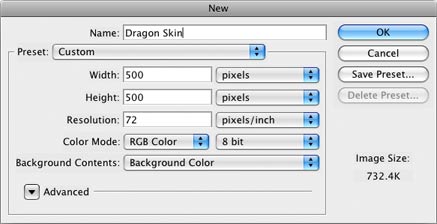
Set the background color to a dark color that will appear between the scales. I chose #8f2a00 for mine which is a sort of brick red color. Now create a new document. I made mine 500 x 500 pixels, but you can choose any size you want. Set the contents to be the background color:
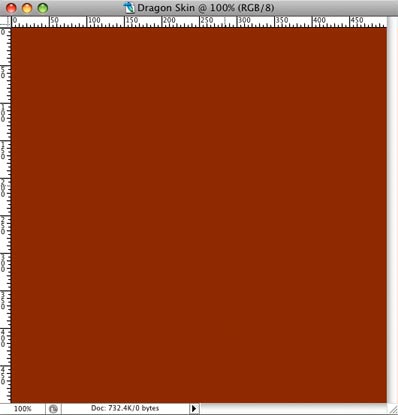
Your document will now look like this:
2
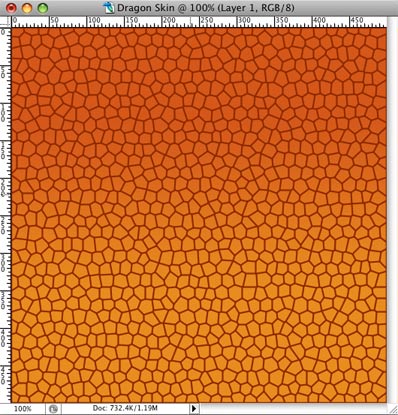
Now we'll create a new layer which will have the main foreground colors of the scales. To make it a little more interesting, I'm going to use a gradient so that the color is darker on the top than on the bottom, similar to how a real reptile or dinosaur would look.
So first create a new layer by clicking on the ![]() button on the bottom of the Layers Palette. Now set the foreground and background colors. I'm going to use #d5571a as the foreground color and #e98c1f as the background color. Now select the gradient tool
button on the bottom of the Layers Palette. Now set the foreground and background colors. I'm going to use #d5571a as the foreground color and #e98c1f as the background color. Now select the gradient tool ![]() and swipe vertically from top to bottom to create a nice blend of color. Here's what mine now looks like along with how the Layers should look at this point:
and swipe vertically from top to bottom to create a nice blend of color. Here's what mine now looks like along with how the Layers should look at this point:
3
Now it's time to make the scales pattern for the dragon or reptile skin using the Stained Glass filter in Photoshop. To get started, go the Channels Palette and create a new alpha channel by clicking on the new channel ![]() icon. Now click on the default colors icon in the tools palette
icon. Now click on the default colors icon in the tools palette![]() to set the foreground color to white and the background color to black. Now select Filter > Texture > Stained Glass. This will open a dialog to choose the filter settings. Here are the settings I used along with the resulting alpha channel image:
to set the foreground color to white and the background color to black. Now select Filter > Texture > Stained Glass. This will open a dialog to choose the filter settings. Here are the settings I used along with the resulting alpha channel image:
You can of course vary the cell size and border thickness to suit your needs, but leave the light intensity setting at zero.
4
Now we're going to use the alpha channel we just created to knock-out space on our foreground color layer in order to let the background color layer show through. First, load the alpha channel as a selection by clicking on the ![]() icon at the bottom of the channels palette This causes all the white areas in our alpha channel to become "selected" pixels in the image. Now click back to the Layers Palette and make sure Layer 1 is selected as shown back in Step 2 (click the layer to highlight it if needed). Now do Edit > Cut or use the keyboard shortcut command-x (control-x on Windows). This deletes the pixels in the selection from this layer. The areas that were white in our alpha channel basically act as a mask in Photoshop so that it deletes the corresponding pixels from this layer. The color in the background layer below can now show through and the snake or reptile scales now start to come to life:
icon at the bottom of the channels palette This causes all the white areas in our alpha channel to become "selected" pixels in the image. Now click back to the Layers Palette and make sure Layer 1 is selected as shown back in Step 2 (click the layer to highlight it if needed). Now do Edit > Cut or use the keyboard shortcut command-x (control-x on Windows). This deletes the pixels in the selection from this layer. The areas that were white in our alpha channel basically act as a mask in Photoshop so that it deletes the corresponding pixels from this layer. The color in the background layer below can now show through and the snake or reptile scales now start to come to life:
There are of course other ways to overlay the dragon or dinosaur scale pattern onto the our foreground color layer, however we specifically want to delete the pixels between the scales for the reasons described in the next step.
Travelling is my life
ConversionConversion EmoticonEmoticon